
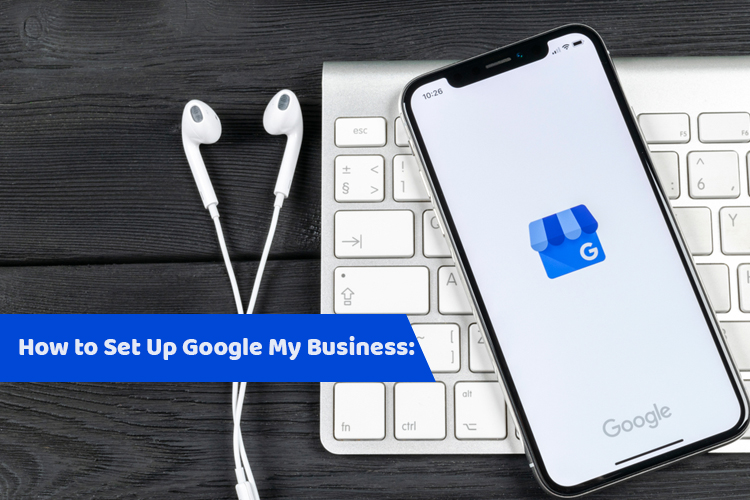
Google My Business: 13 Steps to Setup in 2020
Many businesses and marketers have lowballed the power of Google My Business tool. According to a report, 46 % of searches on Google are related to local information or queries, and 4 in 5 users are using Google to find local details. When they search for local services, products, or information, Google will display the local business listings, and if your business is not there, then you are missing a lot of potential clients.
Keep in mind that in some cases, Google will display its local listings on the top no matter whether your site is optimized for local keywords or not. If you currently have not optimized your local business listing on Google, then your competitors might be taking care of those local searches.
In case you want to rank your local business listing on the top of Google results, then Google My Business is one of the most powerful tools and 100 % free to use. It can help you list and optimize your business for the local searches.
However, you might have listed your business already on Google, but only Google MY Business is one thing, and optimizing and getting most out of it is another. Let’s learn how to set up Google My Business to get the most out of it in 2020. So, without any further delay, let’s dive in…
13 Steps to Set Up Google My Business Page in 2020
It is really not a big deal to set up a local business page for your business. Let’s see how to do it:
Step 1: Visit Google My Business Create Page
Navigate to Google My Business “create” webpage. Now you will see a search bar, make sure to search for your business name to know whether you already have a listing or not.
If you see your business listed there, then you already have an account on Google My Business. In case you don’t see your business, which should be the case for most of you, you will see a popup to make a listing for your business.
You can also click the ‘Add your business to Google” link to get started.
Step 2: Provide Your Business Name
Use your official business name here so that customers can easily recognize your business. Using an alias can cause confusion with your new and existing customers. Also, don’t put any keyword in Business Name because Google will surely suspend your listing if you do so. Just put in the real name of your business.
Step 3: Select Category of Your Business
Google will now ask you to choose the category of your business to tell your customers what your business is all about. This can be challenging if you don’t find any category that describes your business to the point. Don’t worry about it that much, just make sure to go through all categories that are provided there carefully. Then simply find out the best which fits your business best.
Step 4: Select Whether You Wish to Add a Location or Not
Now you need to select whether you want to tell your audience the exact location of your business or not. This option is useful and must for those businesses who provide physical services or products at the location. For example, if you own a grocery store or saloon, then without any doubt, you should add your location. In case you are a local internet service provider, then you might not want customers to visit your office physically as you may prefer orders and payments digitally. This type of business can select the No option if they wish.
Step 5: Adding Business Address
Now make sure to provide your correct address here. This makes your customers find you easily. Don’t worry if you don’t want your clients to visit your address as Google My Business has an option for that too. So don’t hesitate to add the correct address as Google will keep it private for you in case you want.
Step 6: Review the Possible Listing
Google will now show you several business listings that it thinks could be yours. Now simply choose the None of These options at the bottom if none of your business listings is yours. Carefully see if you have created a local business listing in the past time and possibility you may have forgotten about it. In case you never tried it, then simply choose the “None” of these options to continue.
Step 7: Select If You Want To Serve Outside This Location
In case you want to open a store or business in another location in the future, then choosing an option can be worth it for you. If you want to serve only in your current location, then choose No option.
Step 8: Choose the Areas That You Want To Serve
Now choose the areas where you want to serve, and if you have chosen Yes in the earlier step, then you will be able to choose frequent locations.
Step 9: Provide Your Contact Details
Quickly provide your contact detail that Google asks. Make sure to correctly select the country code before entering your contact phone number. Then put in the complete URL address or domain of your business official website. If you don’t have a website, then choose the “Get a free website based on your info” option to get a free website quickly.
Step 10: Allow Updates and Recommendation by Google
Now select whether you want Google to send you updates and recommendations for your local listing. It is a good feature, so pick the Yes option and continue.
Step 11: Hit the Finish button
Now Google will tell you that your listing is ready and will show what you can do with your newly created listing. Hit the Finish button to wrap up the creation process.
Step 12: Verifying Your Business
Next, you need to verify that business exists or not. Google will offer a few options to verify your account, including with automated phone call or with the postcard on your physical address. Keep in mind that the postcard one verification process can take up to 4 days. We recommend the call option to verify your listing as it is faster and much easier.
Step 13: Have a look at The Dashboard of Google My Business
You will then be redirected to your dashboard where you can manage all stuff related to your GMB listing. We recommend you add photos related to your business, description with keywords, opening hours, logo, and other essential things. Just make sure to use all of the available features and options to optimize your GMB fully. You can easily list your products and services, along with attractive images of them.